If you sell your time, how clients pay you matters as much as how they pick a slot. Most booking tools make you choose: let the tool take the money and keep a cut, or wire up webhooks and server code yourself. b59 book does neither. You connect your own Stripe account, and every payment lands in it directly.
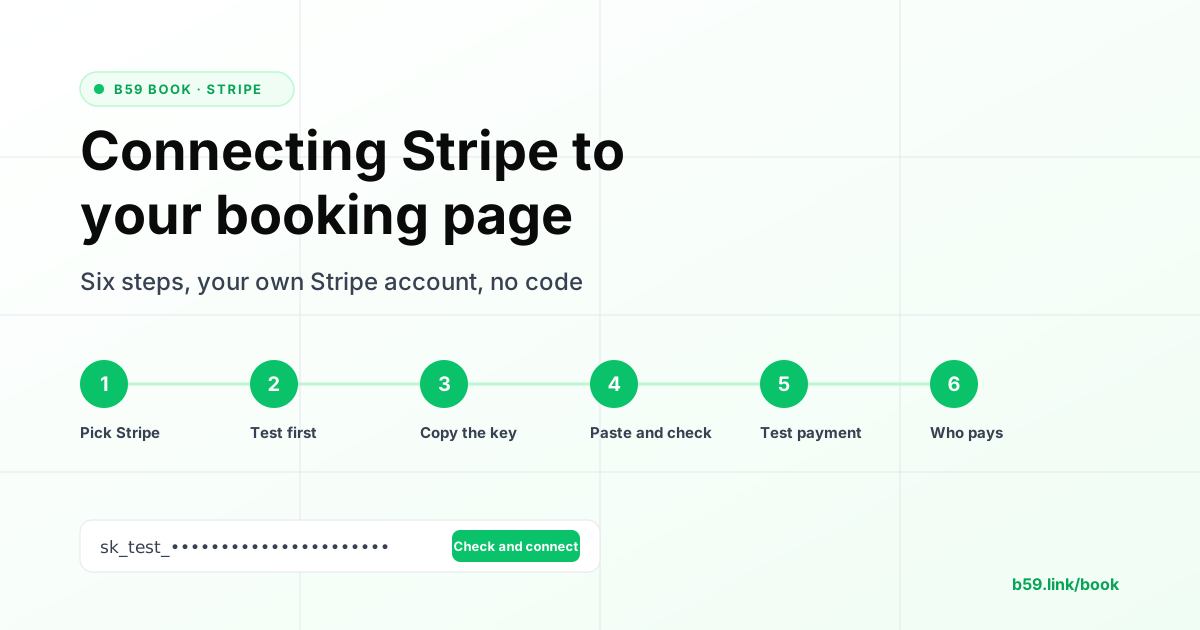
This is the Stripe-only walkthrough. It follows the six steps of the payment wizard on your booking pages at b59.link/book/me, with a screenshot of each screen that matters, the exact key your Stripe account needs, and what to check at the end. It takes about ten minutes, and you do not need a developer. If you also take payments in India, the guide for Stripe, Razorpay and Cashfree together covers the other two.
Why connect your own Stripe account
- The money is yours at once. A client pays through your Stripe account, so your own payout schedule applies. There is no platform holding the funds and no commission on top of Stripe's fee.
- Your customers stay your customers. The card and the customer record live in your Stripe account. If you later sell a monthly retainer, the client does not re-enter a card somewhere else.
- Clean books. Payments, monthly plans and the reports you already use in Stripe (and whatever accounting tool you sync to it) cover your bookings too.
Here is what a platform cut costs over a year, against Stripe's own published US card rate of 2.9% plus 30 cents (stripe.com/pricing, checked November 2026; your country's rate may differ). The cut comes on top of that rate either way.
| Your month | Stripe's fee | A 3% platform cut on top | Platform cut per year |
|---|---|---|---|
| 10 sessions at $100 | $32 | $30 | $360 |
| 20 sessions at $100 | $64 | $60 | $720 |
| 20 sessions at $250 | $151 | $150 | $1,800 |
Before you start
- A Stripe account. Test mode works right after sign-up; Stripe asks for business details only when you go live.
- A booking page on b59 book with at least one paid plan. Make one at b59.link/book/me, add a plan under Page settings, and come back.
- Ten minutes and two browser tabs: Stripe in one, your booking pages in the other.
Step 1: Pick Stripe in the payment wizard
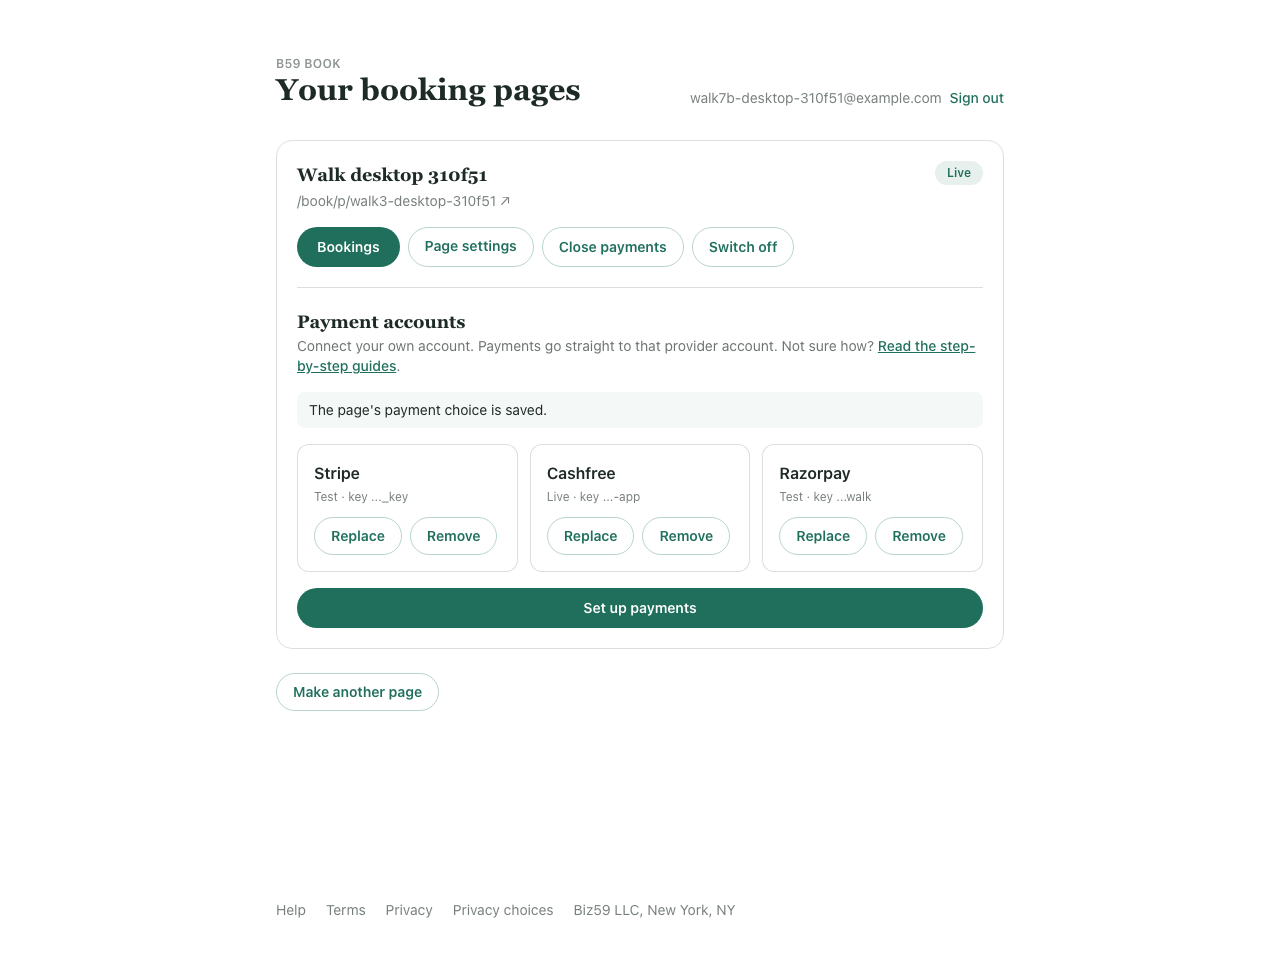
On b59.link/book/me, open your page and scroll to Payment accounts. Click Set up on the Stripe card (or Set up payments below the cards). The wizard asks where your customers pay: India cards and UPI go to Razorpay or Cashfree, worldwide cards to Stripe. Choose Stripe and click Continue.
Step 2: Start in test mode
Step 2 of the wizard offers Test (recommended first) and Live payments. Take test. Everything you do in test mode is pretend money, and you can run the whole flow, booking included, before a real client sees the page. You repeat the wizard with live keys later; it takes two minutes.
Step 3: Copy the key from Stripe
Step 3 lists what to do in Stripe and has an Open Stripe dashboard button that lands on the right page. In Stripe:
- Switch on Test mode in the dashboard (or open a sandbox).
- Go to Developers, then API keys (dashboard.stripe.com/test/apikeys).
- Next to Secret key, click Reveal and copy it. A test key starts with
sk_test_, a live one withsk_live_. Do not copy the publishable key (pk_): the wizard will refuse it.
Prefer a restricted key? That works too
If you would rather not hand any tool your full secret key, create a restricted key instead (Developers, API keys, Create restricted key). Name it, and give it exactly these permissions. Everything else stays at None.
| Permission in Stripe | Access | Why b59 book needs it |
|---|---|---|
| Checkout Sessions | Write | opens the Stripe Checkout page a client pays on |
| Subscriptions | Write | monthly plans are Stripe subscriptions; they cancel at the end of the period |
| Webhook Endpoints | Write | registers the payment notification endpoint for you in step 4 |
A restricted key starts with rk_test_ or rk_live_. If one of the three permissions is missing, the wizard says so at the next step and nothing is saved.
Step 4: Paste it and let b59 book check it
Back in the wizard, click I have the keys, paste the key and click Check and connect Stripe. Three things happen in a few seconds:
- The key shape is checked against the mode you chose: a
sk_live_key in test mode gets a warning before anything is sent. - b59 book talks to Stripe with your key and registers the payment notification endpoint (the webhook) in your Stripe account. You do not add a destination, pick events or copy a signing secret; that is the part other tools leave to you.
- The key and the webhook secret are stored encrypted. The page never shows the key again, only its mode and last letters, as in Figure 1.
If you want to see what was created, open Developers, then Webhooks in Stripe. You will find one endpoint for your page, listening to these events:
Leave it as it is. If you ever click Replace with a new key, b59 book removes the old endpoint and registers a fresh one, because Stripe shows a webhook secret only once, at creation.
Step 5: Make a test payment
Step 5 says Connected. Finish in Stripe, and for Stripe there is nothing to finish: the first item reads "Nothing to set up in Stripe". The second item is the test payment, with Stripe's test card number and a copy button.
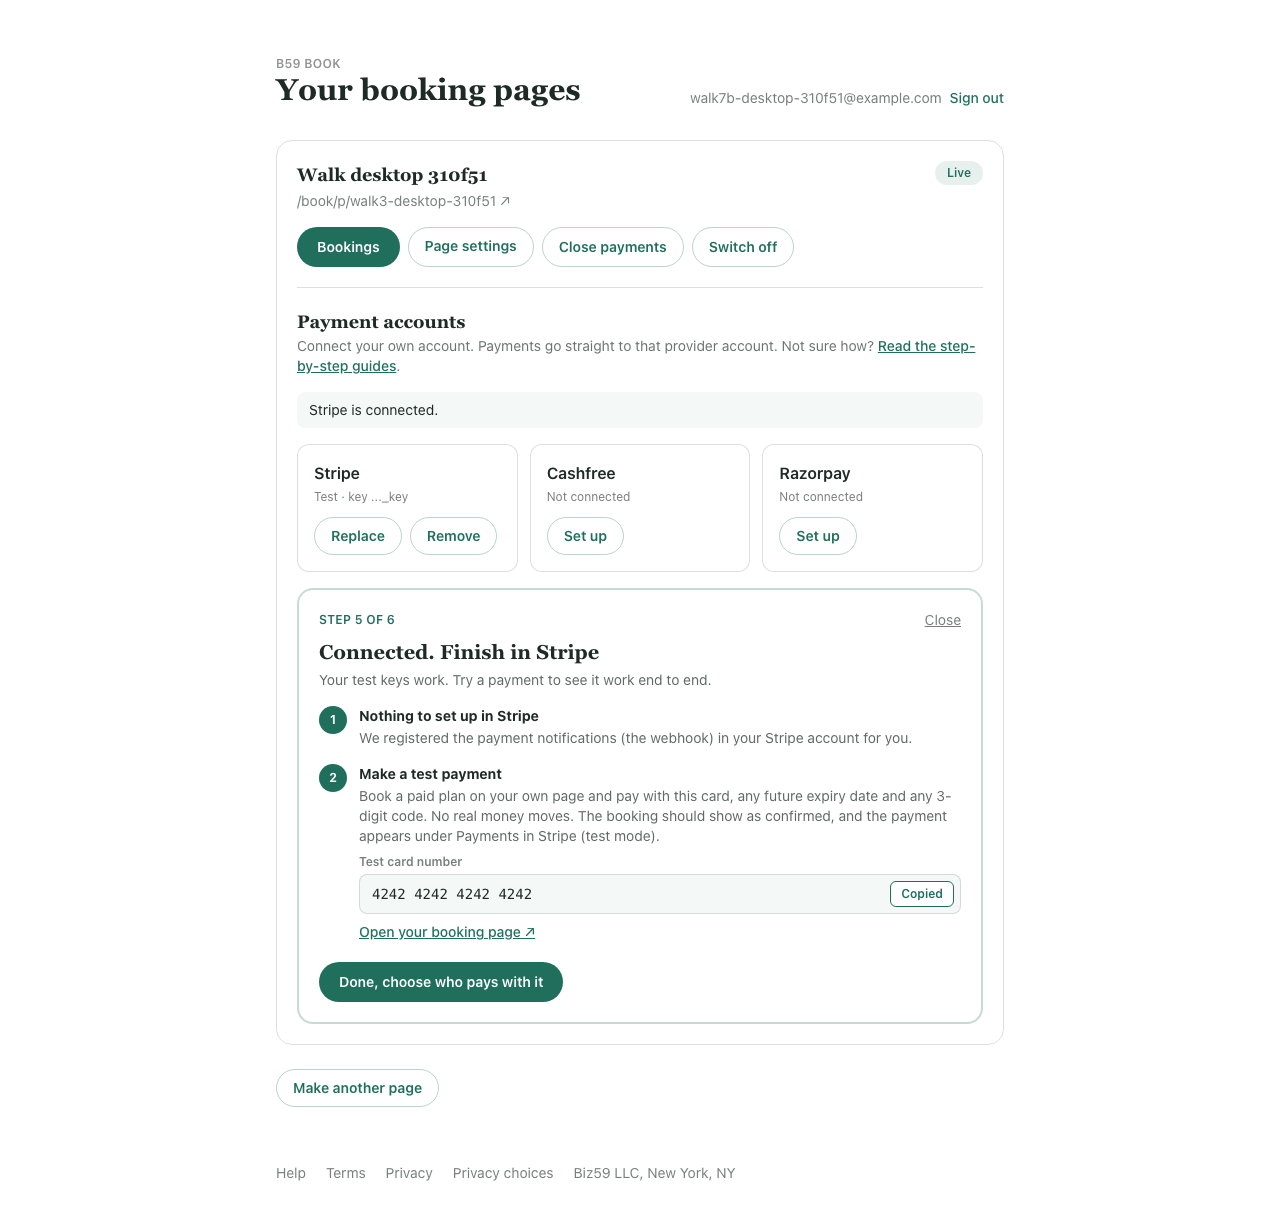
- Click Open your booking page (or open
b59.link/book/p/your-slugin a private window). - Pick a paid plan and a time, fill in your name and email, tick the terms.
- On the Stripe Checkout page enter card
4242 4242 4242 4242, any future expiry date and any 3-digit code. No real money moves.
What you should see, in this order:
- The booking page comes back and shows the booking as confirmed. The time is held for 31 minutes while someone pays; only Stripe's notification (or the return check) confirms it, so a closed tab cannot block a slot for long.
- The slot is gone from the public page.
- Both sides get an email: the client with the details and a link to their booking page (where the calendar file is), you and your admins with the booking.
- In Stripe, under Payments (test mode), the payment is there with the plan name.
Then click Done, choose who pays with it.
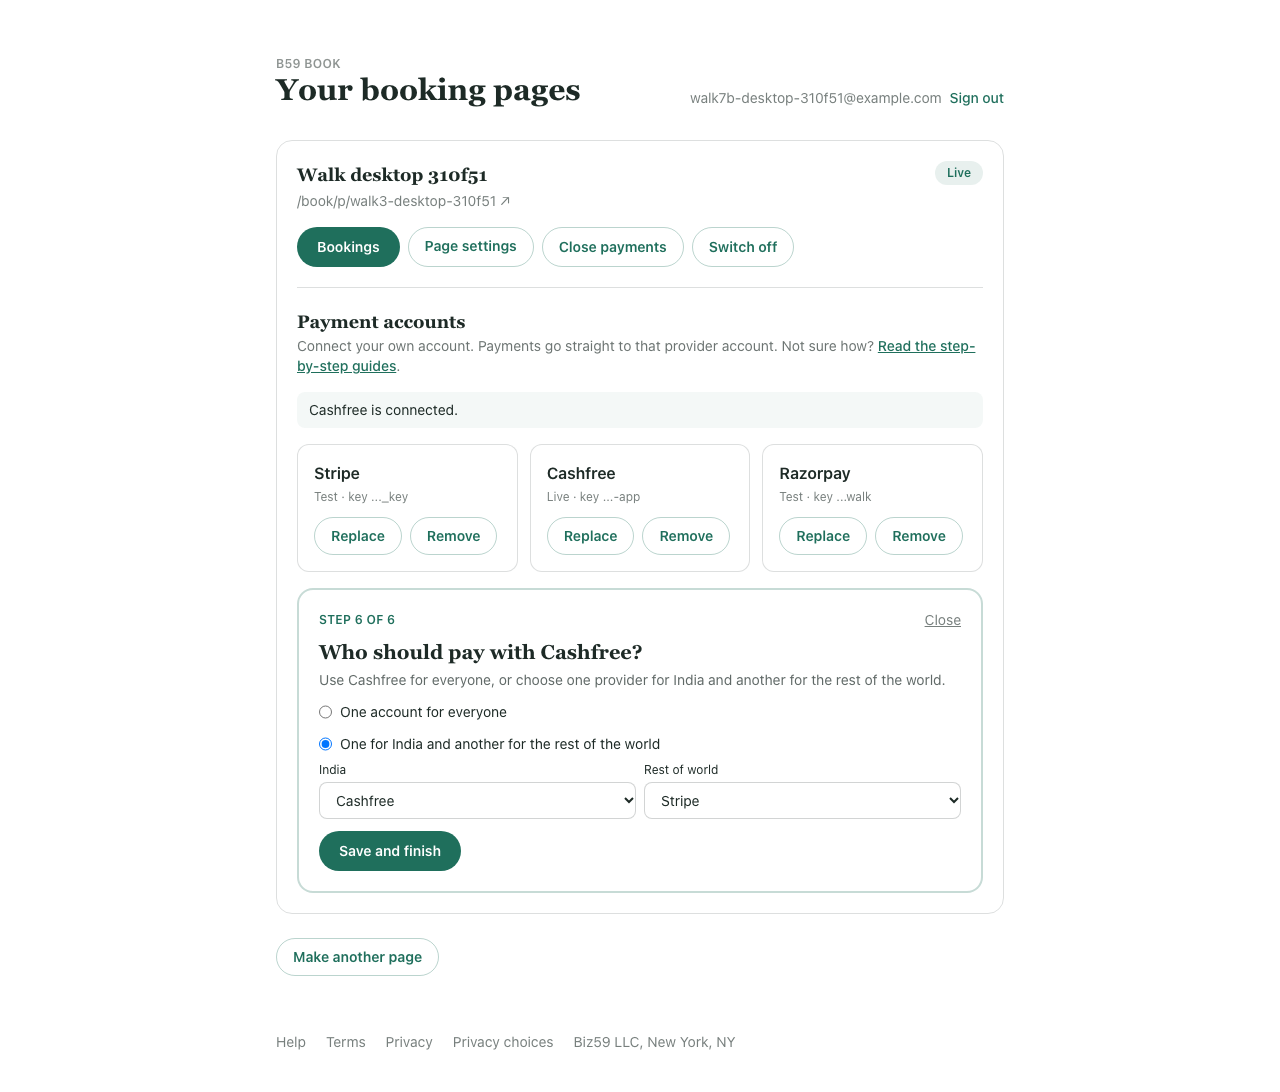
Step 6: Choose who pays with Stripe
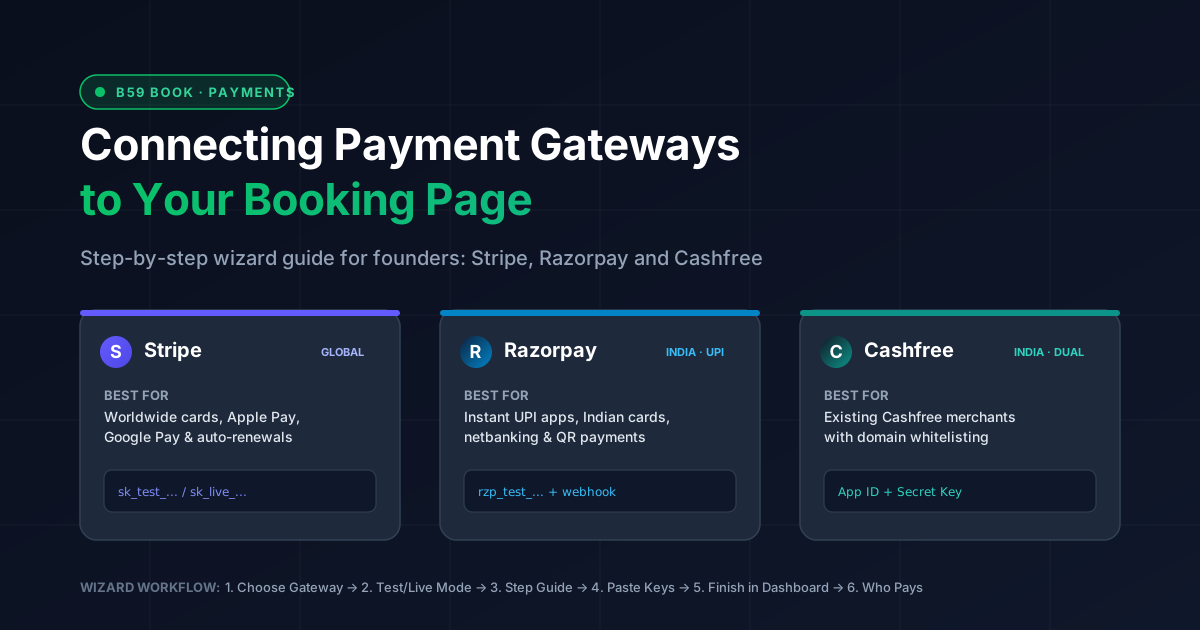
The last step asks who should pay with Stripe: one account for everyone, or one for India and another for the rest of the world. If Stripe is your only provider, keep everyone and click Save and finish. If you also connect Razorpay or Cashfree, give India to that one and the rest of the world to Stripe; the page picks the provider from where the visitor is.
Going live
- In Stripe, click Activate payments and fill in your business, ID and bank account. Stripe usually reviews it within minutes, sometimes a day or two.
- Turn test mode off, go to Developers, then API keys (dashboard.stripe.com/apikeys) and copy the live secret key (
sk_live_), or make a live restricted key with the same three permissions. - On your booking pages click Replace on the Stripe card, choose Live payments in step 2, paste the live key in step 4. b59 book registers the webhook in your live account the same way.
- Book your cheapest paid plan yourself with a real card. It should show as confirmed and appear under Payments in Stripe. There are no refunds on b59 book (clients move a booking instead of cancelling it), so pick a plan you would actually use.
What your clients see
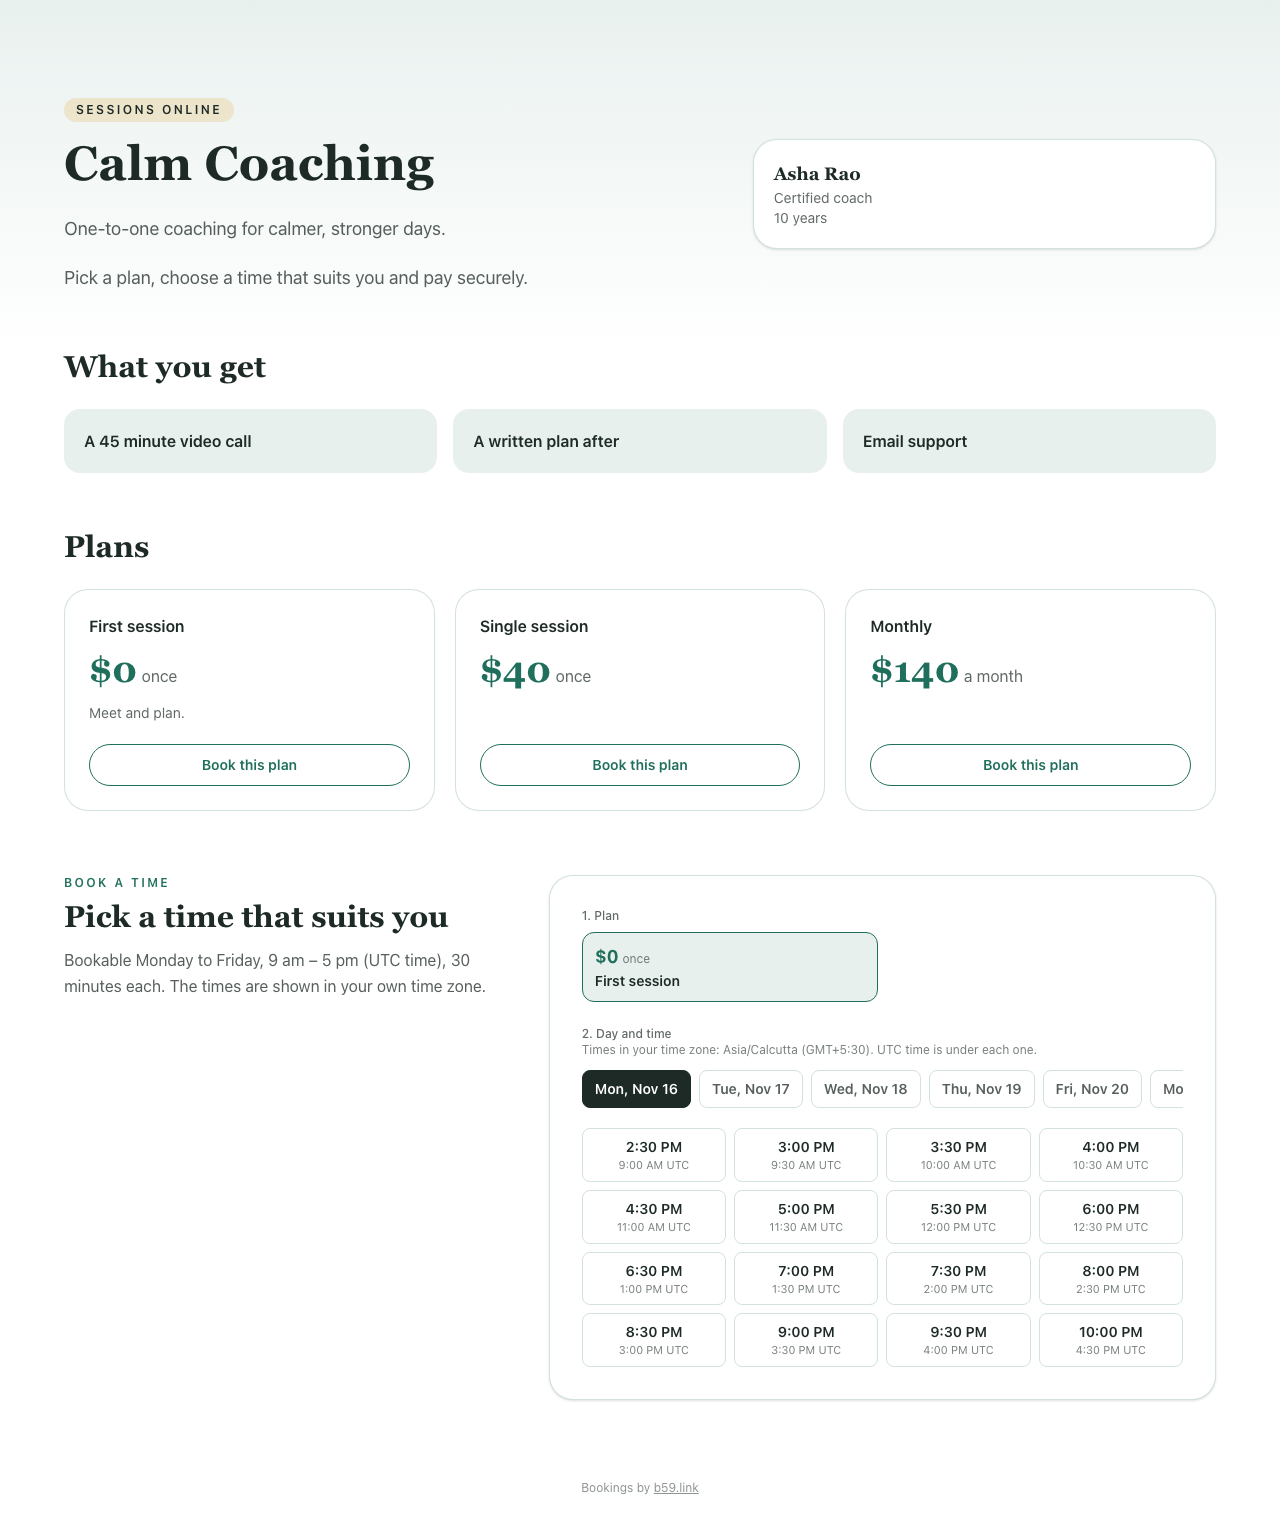
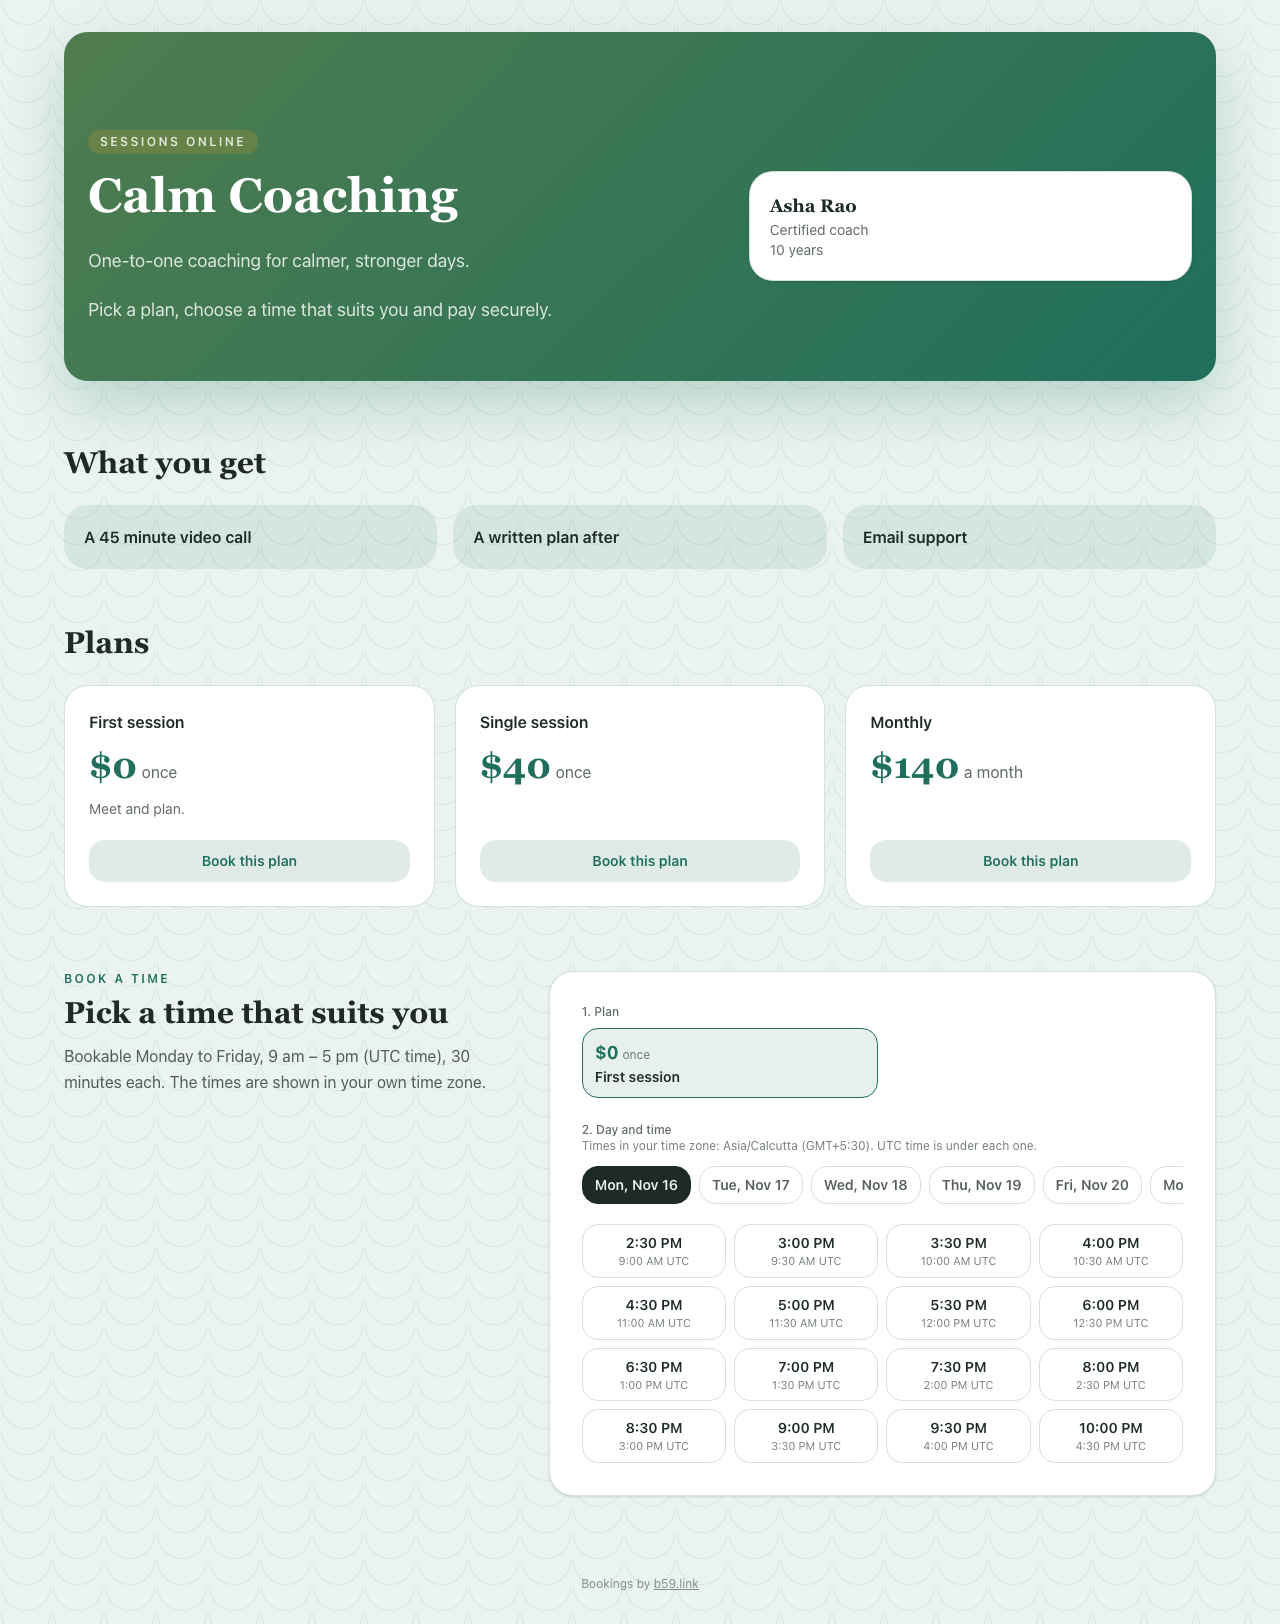
The payment part is Stripe Checkout, in your Stripe account's name. The page around it is yours: the look comes from Page settings, where six templates and twenty colour palettes wait. Two of them, on the same coaching page:
The checklist
| Step | Where | What you do | What you see |
|---|---|---|---|
| 1. Pick Stripe | b59.link/book/me, Payment accounts | Set up, choose Stripe | Step 1 of 6 |
| 2. Test first | wizard | Test (recommended first) | Step 2 of 6 |
| 3. Copy the key | Stripe, Developers, API keys | Reveal and copy the secret key, or a restricted key with Checkout Sessions, Subscriptions and Webhook Endpoints set to Write | sk_test_ or rk_test_ |
| 4. Paste and check | wizard | Check and connect Stripe | Stripe is connected; webhook registered for you |
| 5. Test payment | your public page | Book a paid plan with card 4242 4242 4242 4242 | Confirmed booking, two emails, payment in Stripe |
| 6. Who pays | wizard | Everyone, or India and rest of world | Save and finish |
| Go live | Stripe + wizard | Activate, copy the live key, Replace, one small real booking | Live, key ending shown on the card |
If something goes wrong
- "That doesn't look like a Stripe secret key": you pasted the publishable key (
pk_). Copy the one labelled Secret key. - "That Stripe key can't manage webhooks": a restricted key without Webhook Endpoints write access. Edit the key in Stripe to allow Checkout Sessions, Subscriptions and Webhook Endpoints, all Write, or use the standard secret key.
- Live key in test mode (or the other way round): the wizard warns you before sending it. Go back to step 2 and pick the matching mode.
- A test booking stays unconfirmed: check Developers, Webhooks in Stripe for the endpoint from step 4 and its recent deliveries. If you deleted it by hand, click Replace and connect again; it is recreated.
The short version of this guide also lives inside the product at b59.link/book/help/payments/stripe, one click from the wizard.
b59 book gives you a booking page with your own plans, hours and look, and payments that go straight to your own Stripe account.
Set up your booking page